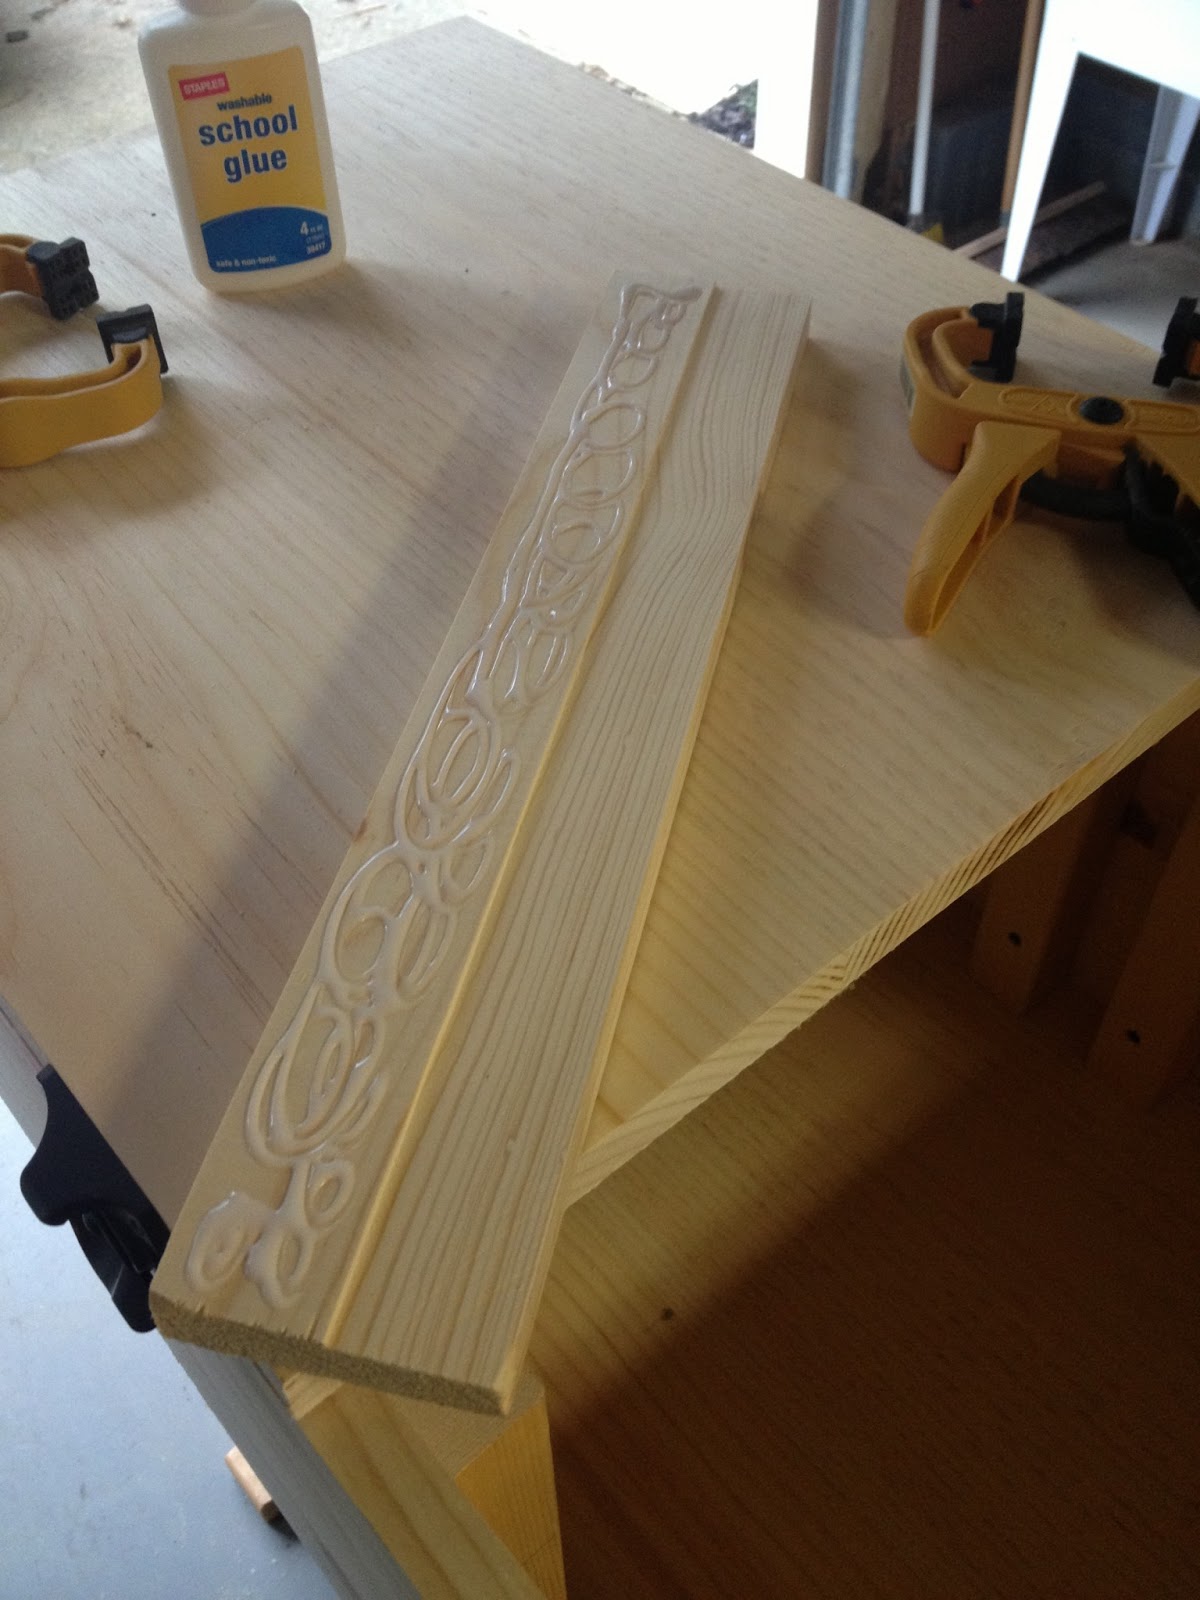
With the cabinet carcass done the next step was to add the shelf holders. These were regular pine 2x2 's cut to length and screwed in place. I chose to screw these, as opposed to nailing them, in case I ever need to make changes. I figured out where the top and bottom shelves would sit and then spaced all the others between them. I used blocks of wood as spacers, first doing one side then then other.


The wider space between the shelf holder on the most-right (e.d. the bottom) and the one to the left if it was intentional. That bottom shelf will hold a pan of water of I wanted a little more working room for it.


Next was the simple attachment of the door.


I have more hinges at the bottom because my plan was to have two doors - one for access to the entire area and the other access to just the heating elements. The biggest driver of this was being able to access the heating elements, the wood chips tray specifically, without opening the entire cabinet and losing heat. My plan was to install the door and get the hinges set for it and then to cut the door into two. This way, hopefully, when re-installed the two doors would align well with each other and better than had I installed them separately.
I used window sash locks to pull the doors tight and hold them in place (my plan included weather stripping for the doors and I wanted to make sure the door was snug against the stripping).


I am not sure they will last well long-term as sometimes they do not catch easily and slip apart. I may replace them later with another option.
After cutting the door in half I added a strip of wood to the inside bottom of the top door. This gives me a place to put the weather stripping between the two doors and prevent smoke/heat from escaping there.


Close door; turn the radio and lights off. It is time to head upstairs for the evening.
No comments:
Post a Comment