Friday, May 17, 2013

Time To Get Wired

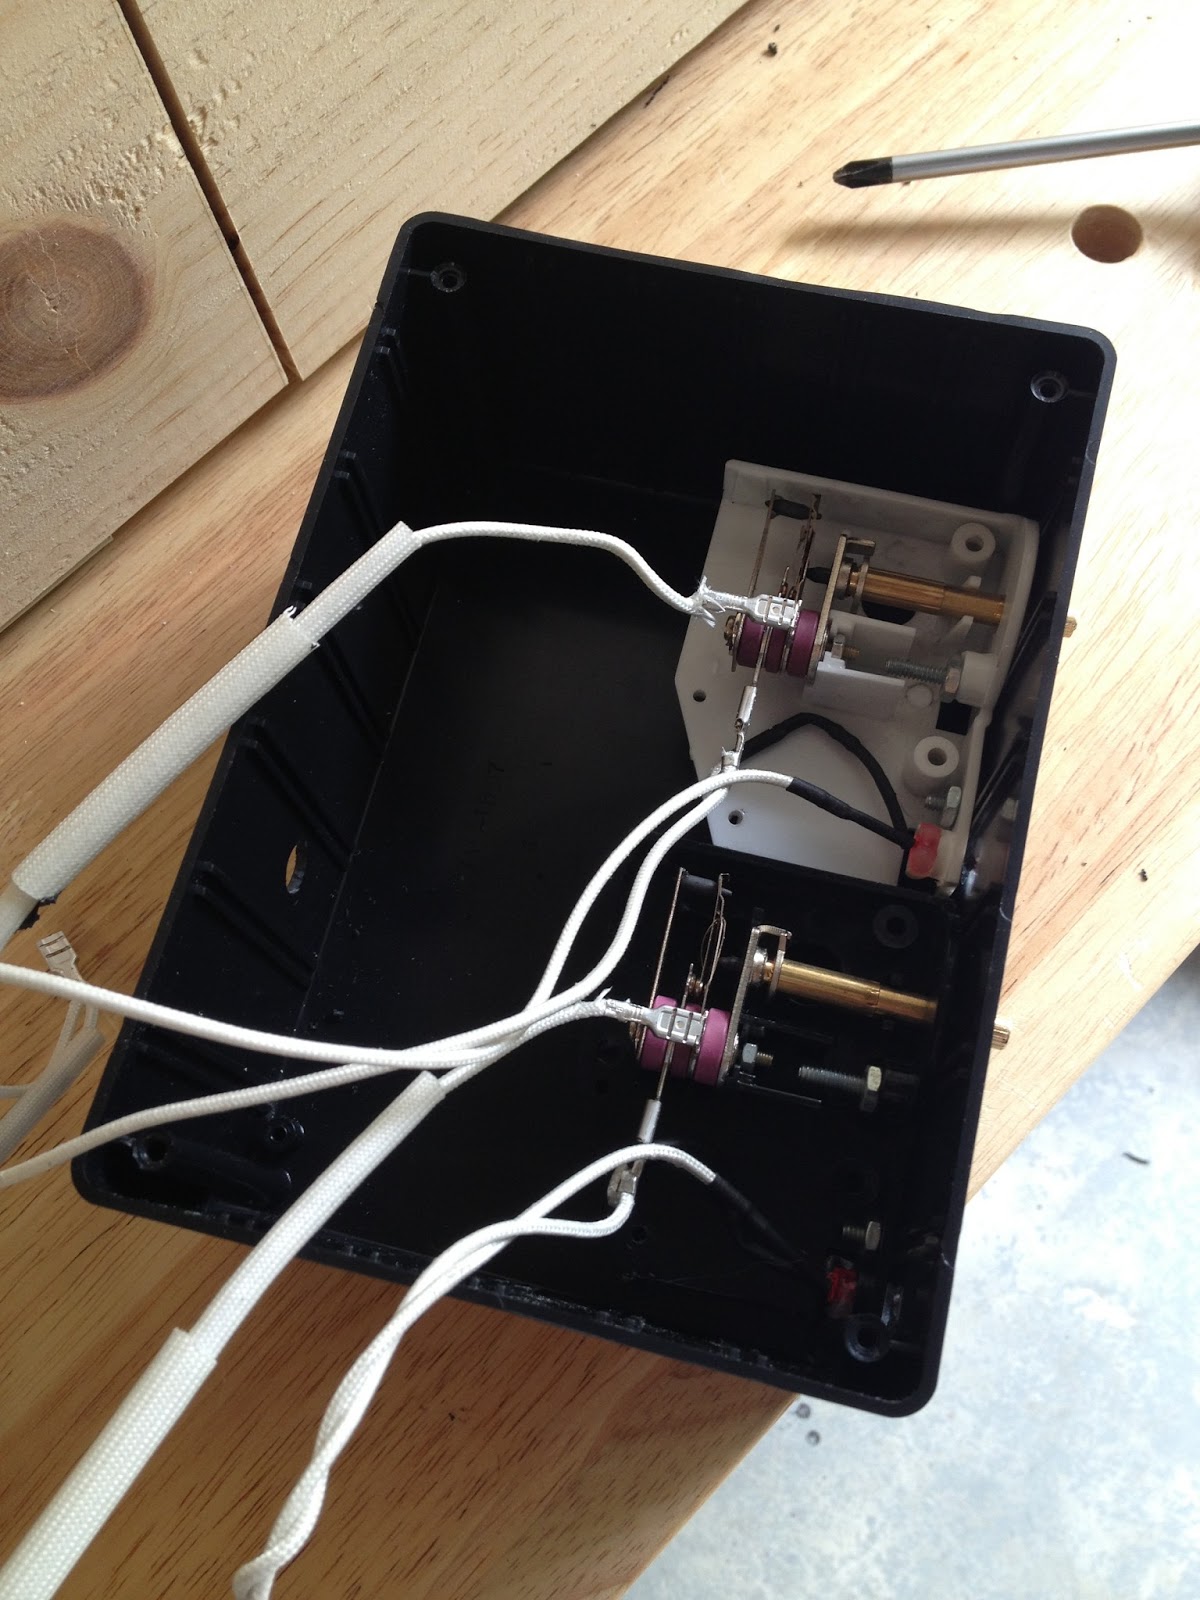
Time to get the electrical stuff figured out and done.  I removed the remaining electrical components from the original hotplate bases and fumbled through getting them installed in a plastic project box from Radio Shack.


It took a little effort to get them removed from the original bases.
  

With a little thinking I was able to figure out what needed to be cut and trimmed on these controls.  After that I took some measurements and drilled some holes.


Not too bad.  I had to go back later and move some of the screws as I found that when the knobs were installed the screw heads got in the way preventing the knob from sliding on all the way.  This frustrated me a little but was easily resolved.

Time to run the wires from the controls to the heating elements.  2 burners, 4 wires, each about 4' in length.  Good, now time to find high temperature wire.  My original plan was to run these wires inside the cabinet and have them enter the control box from the bottom. Because of this I needed about 20' of wire.  I found a source on eBay and ordered what I needed.  This stuff is kinda expensive which bothered me later when I changed my plan and had the wires run up the outside back of the cabinet - meaning that I could use regular wire for that since they would not be in the heated area on the inside.  I decided to go ahead and run the high temperature wire on the outside because, otherwise, I would have had to come up with some type of junction box at the bottom where the high temperatures wires would connect to the regular wires.  I opted not to do this and just use what I had.  I dug through my strap pile and found some PVC pipe to use as conduit. First drill a hole in the back bottom for the pass through.


Here is the wire.


Here is the wire cut to somewhat equal lengths.


I 'tagged' two of the wires on both ends with a black Sharpie marker so that later I would know which two at the bottom, connected to one of the elements, corresponded to its controller at the top.  After marking I ran them through the pipe.


And then put the pipe in place.


Here the wires enter the control box.


I secured the pipe to the back of the cabinet.


I crimped on some high temperature connectors and joined the wires to the heating elements.


With a little fussing I was able to get the control box wired but not without some damage.  Somehow I managed to break a lead off of one of the 'power on' indicator LEDs.  A trip back to Radio Shack gave me some bulbs.  I replaced the LEDs with the new bulbs.


I screwed the cover in place and called it done.


Cabinet Build Cont.

With the cabinet carcass done the next step was to add the shelf holders.  These were regular pine 2x2 's cut to length and screwed in place.  I chose to screw these, as opposed to nailing them, in case I ever need to make changes.  I figured out where the top and bottom shelves would sit and then spaced all the others between them.  I used blocks of wood as spacers, first doing one side then then other.


The wider space between the shelf holder on the most-right (e.d. the bottom) and the one to the left if it was intentional.  That bottom shelf will hold a pan of water of I wanted a little more working room for it.


Next was the simple attachment of the door.


I have more hinges at the bottom because my plan was to have two doors - one for access to the entire area and the other access to just the heating elements.  The biggest driver of this was being able to access the heating elements, the wood chips tray specifically, without opening the entire cabinet and losing heat.  My plan was to install the door and get the hinges set for it and then to cut the door into two. This way, hopefully, when re-installed  the two doors would align well with each other and better than had I installed them separately.

I used window sash locks to pull the doors tight and hold them in place (my plan included weather stripping for the doors and I wanted to make sure the door was snug against the stripping).  


I am not sure they will last well long-term as sometimes they do not catch easily and slip apart.  I may replace them later with another option.

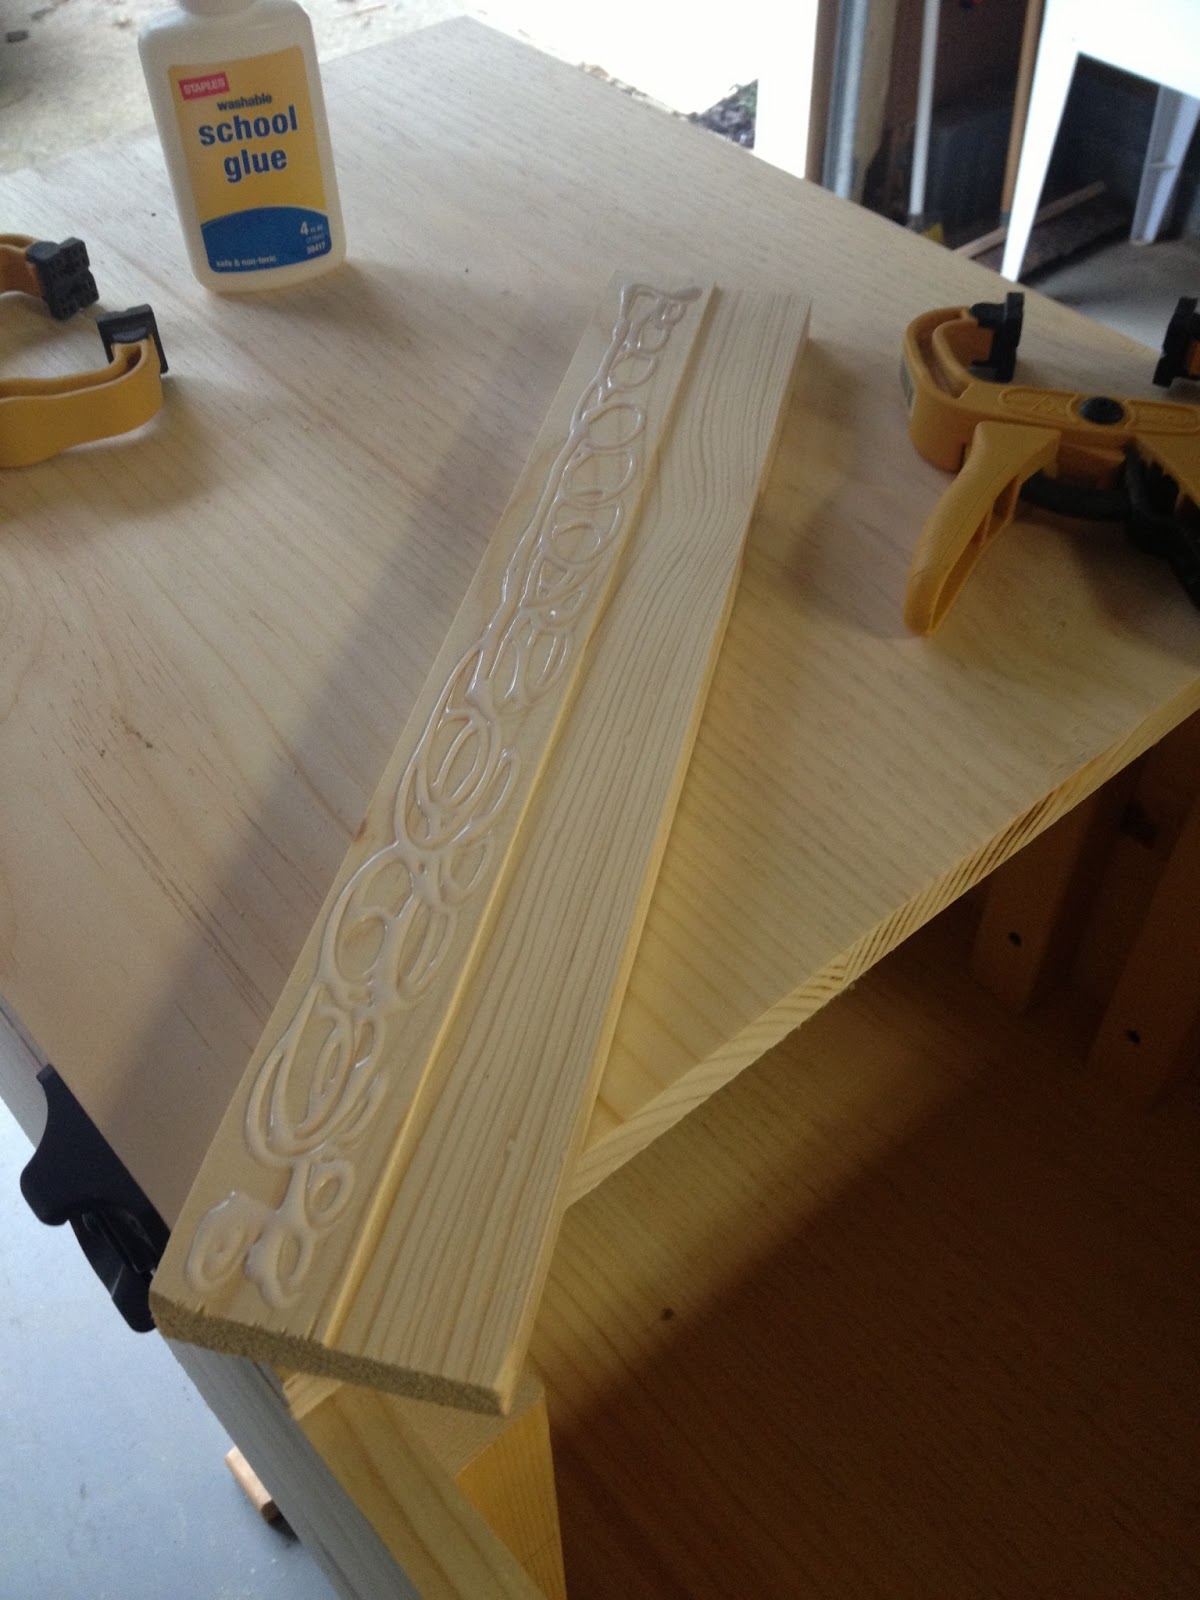
After cutting the door in half I added a strip of wood to the inside bottom of the top door.  This gives me a place to put the weather stripping between the two doors and prevent smoke/heat from escaping there.


Close door; turn the radio and lights off.  It is time to head upstairs for the evening.

Thursday, May 2, 2013

Build The Cabinet

With the side panels glued up, trimmed to length through the table saw, and lightly sanded to knock off splinters it was time to put the cabinet together.  There is really not much to show here - the sides were nailed to the back.


Then I cut the top and bottom pieces to nailed them in place.  I had a set of casters purchased many years ago for a router table which I never built.  After scrounging up some 3/4" screws I had a cabinet which I could roll around.


I ended the evening with a roll around cabinet.


As is usual with my projects, if I were to do it again there are things I would have done differently but, so far, I am quite happy with the progress.  It is close to what I had in mind.

Next up:

  • Attach wood strips to hold the wire racks
  • Attach wood strips to hold the catch pan
  • Install door (horizontal split, weather seal, and hardware)
  • Drill holes for top and bottom vents and build vent hole covers for controlling air flow
  • Build platform for holding burners
  • Build box for burner controls and connect to burners
  • Install cabinet thermometer


Wednesday, May 1, 2013

Build The Side Panels

Before starting with the cabinet's construction, here are the completed burner pictures I promised in my prior entry:


I like how these turned out - they are sound and stable.  Now, on to the cabinet...  

Before I could buy wood I needed to determine what size the cabinet was going to be and these dimensions would be based on the shelving I obtained.  After deciding that the cost of grill replacement racks was too much I found these cookie cooling racks at Walmart:


They are 16" x 10" which are close enough to what I wanted.  Each pack contains 2 so I purchased 2 packs.  This would allow for 3 cooking shelves and 1 drip pan holder shelf.  

Now having the racks I could determine cabinet size and decided the inside of the cabinet to be approximately 16 1/2" wide and 12" deep.  I then quickly calculated the material I would need and off to Lowe's I went ...again.  It is a good thing that my wife likes going to Lowe's.  (Its funny though... every time I am ready to check out I meet her at the register with my load of supplies and she is there with her cart full of plants and a big grin on her face.)

I chose solid pine boards over other wood materials (e.g. plywood) because I did not want the risk of toxic fumes getting on my food. This concern is based on the idea that as the smoker heats up the glues used in the other woods would emit fumes and threads on this topic in smoker discussion forums validated my concern.  

The supply of boards directly from the lumber department at Lowe's:


Man, I sure love the smell of pine boards.  If I had used plywood I would have been able to have one-piece cabinet side panels but, by choosing these boards, I had to do a little work.  I chose a cabinet height of 3' so I purchased 6' long boards.  Cutting them to length and ripping some to proper width gives me these:


I now had pieces which had to be put together into single larger panels.  I was concerned that just gluing the edges of the boards together (with non-toxic white glue) that the heat differences between the inside and outside of the cabinet might cause the boards to bow and possibly come apart at the joints.  To prevent this I used my biscuit joiner.  Having these biscuits would increase the stability of the joint and prevent any shearing action should one board want to bow more than the other. 


When dried I ran them through the table saw to straighten and square up the edges.